Skip to Main Content
NAU Cline Library logo

Creating at Cline Library

Your complete how-to guide for enjoying the Cline Library's MakerLab and multimedia Studios.

How to Make a Zine

So, you have a zine assignment, now what? Zines are a format frequently used to share ideas and information in low-cost, creative ways within a particular community. Zines are often used to share perspectives that are left out of mainstream media and publications, as well as fill knowledge gaps. You’ll need to consider the overall message of your zine, as well as the intended audience. When you write a paper it is intended for your instructor or professor only. Making a zine gives you an opportunity to consider another audience and purpose for your academic work.


Choosing a Topic

Any zine assignment you create will likely require you to include perspectives other than your own, insight into current issues or politics, and so on. As you use information that you found somewhere else, it is important to use it responsibly, ethically, and strategically to communicate your ideas to your audience/readers. Here are some resources to help you start your research:

Making your Zine

Gathering your Materials

Zines are meant to be creative works and as such are completely open to your artistic interpretation (within the parameters of the assignment). This means that the materials you use to create your zine can vary widely. In general, however, you want to use inexpensive materials that are easy to access. Some materials you may consider using are:

  • Printer/construction paper
  • Drawing tools (pens, markers, etc.)
  • Glue sticks (use sparingly)
  • Magazines for collages
  • Scissors and staplers

Visit the Cline Library MakerLab for access to all of the above materials (and more). 


Consider your Creative Elements

Just like the in materials you use, you should feel empowered to express your creativity in your zine by incorporating different kinds of creative elements. No matter what you choose to include be sure to focus on hand-created elements and artwork. Most importantly, always draw/write using thick lines that can be easily recreated using scanners and photocopiers. Your zine might include:

  • Hand drawn artwork
  • Illustrations
  • Text graphics
  • Poetry

Formatting your Zine

Zines also come in many different shapes and sizes, but a few formats are more common than others. The three most common zine sizes are based on standard printer-sized paper: 8.5” x 11”, 5.5” x 8.5”, and 2.75” x 4.25” (see examples below). Plan for pages in multiples of four and bind your zine by “saddle stitching.” Zines are typically reproduced via photocopying/scanning (scanners and printers are available throughout the Cline Library).

16 page “saddle stitched” zine                                                          8 page “folded” mini zine

 Zine formatting example - 8 pages, foldedZine formatting example - 1 page, folded

                     Extra long stapler for saddle-stitching zines


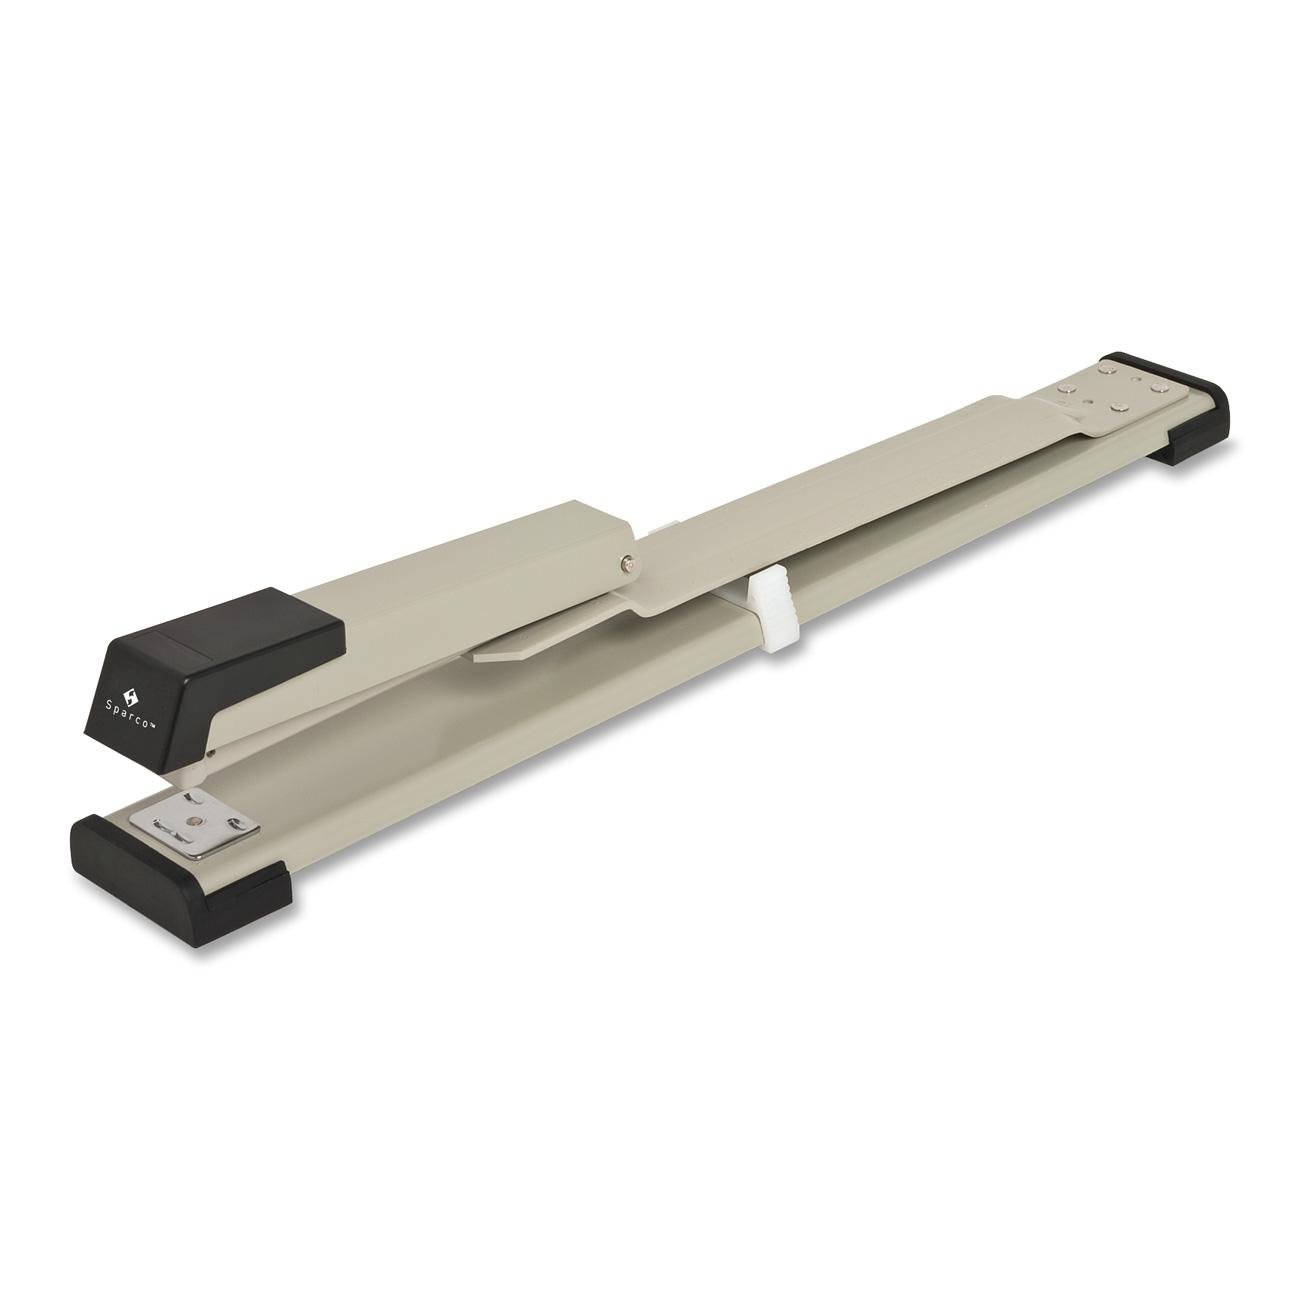
Extra-long staplers are available in the
MakerLab to help you saddle-stitch your zine.


Formatting a Zine in Microsoft Word

  1. Open the Page Layout tab and select “Page Setup.” 
    Microsoft Word formatting for zines screenshot
     
  2. On the Margins tab, change the setting for “Multiple pages” to “Book fold.”
    The orientation of the page will automatically change to Landscape.
    Microsoft Word formatting for zines screenshot
     
  3. You can also use the Paper tab to choose between A4, for a 5.5” x 11” zine, or Tabloid, for an 8.5” x 11” zine.
  4. When you print the booklet, check the print settings to make sure you print on both sides of the paper and flip the papers correctly for the printing to work as intended. 
    Microsoft Word formatting for zines screenshot

Zine Making Tips

  1. If your zine assignment requires you to write, we recommend writing your text or essay(s) in Microsoft Word or Google Docs and then transferring them to your preferred zine format, just to be sure that you’re fulfilling the writing requirement for your assignment.
  2. It may help you to write a one page introduction to your zine and/or include a reflective statement about your experience with making the zine for your instructor. What did you learn from doing this?
  3. Zines often include both visuals and text. You can incorporate art, collage, photos, poetry, links to digital content, etc. but make sure you know what aspects of your zine you will primarily be graded on.
  4. Zines come in a variety of formats. Some are web-based, some are digitally designed on a computer, some are cut, pasted, and photocopied by hand. The format you choose is up to you, just use it well. Be as creative as possible!
  5. You may need supplies and tools to create your zine, please take advantage of what is available in the Cline Library MakerLab to cut, staple, glue, and construct your original zine. Scanners and printers are available throughout the library where you can print or copy your zine.
  6. You have likely been asked to include appropriate citations and bibliography for all ideas that aren’t your own. This is a creative assignment, but it’s also a scholarly one. You will need to cite and create bibliographies accordingly.
  7. Do not wait until the last minute to create your zine! Take advantage of any zine workshops in class and the zine collection at Cline Library and set aside time to work on your zine or you will not have time to produce a quality zine.
  8. Make the required number copies of your zine for course, but also consider making more and sharing your ideas widely. You may also consider donating a zine to the Library’s collection.